Screenshots are very useful in today’s world. Users can use the screenshot to save some important information or share it while helping someone in learning a new application. You can also screenshot some tweets or some posts that might disappear after some hours. However, different devices have different settings to capture the screen. If you are using Windows 10 and not able to figure out how to print screenshots on Windows 10, then here is the whole stepwise guide.
The users of the Windows 10 have a pair of tools named Snip & Sketch and Snipping Tool to capture a screenshot on windows. A couple of years ago Microsoft introduced the tool to print the screenshot. You can buy the in-built tool of Windows at $150. Users can also use shortcut keys to take a screenshot.
Recently, Microsoft brought some changes in the settings and features of the Snip & Sketch, which made it a better option than the Snipping Tool. And within a very short time period, the tool has gained much popularity among the users.
In this article, we will try to cover all the possible ways to print screenshots on windows 10 along with the easy shortcuts that would make your job even easier. So stay with us till the end of the article. We are hopeful, we will be able to serve some beneficent information.
- You can try Printing a Test Page here.
7 Different Way to Capture Screenshot on Windows
Below is some best and easy way that will guide you through print screen windows 10. If you are using the 10th version of windows and are not sure how to take a screenshot then read all the ways to make your work easy. Now, let’s begin!
#1: Take a screenshot with Snip & Sketch Tool
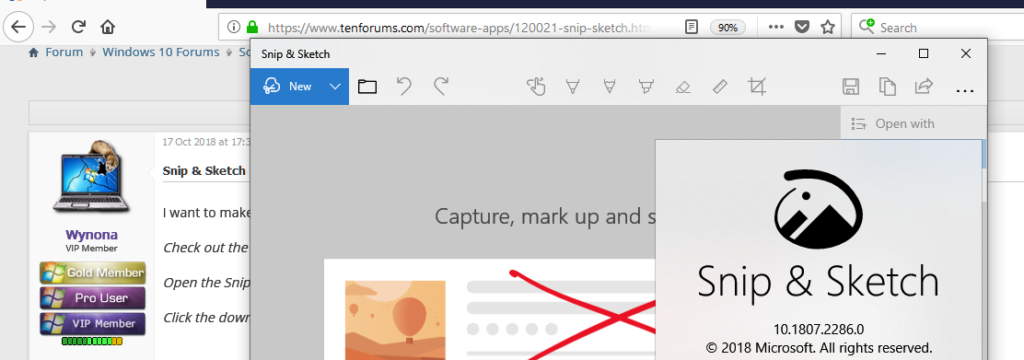
Along with the new features in Snip and Sketch Tool, it has become easier to use it for capturing a screenshot. The tool has a user-friendly interface that makes it popular. It is easily accessible and hence is considered better than the Snipping Tool.
Follow the steps below to print the screen using the tool:
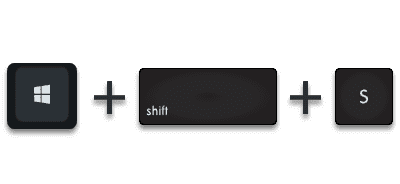
- Users can easily access the tool by simply pressing the shortcut keys on the keyboard (Windows Key + Shift + S).
- You can also get the tool by clicking on the Start button on the desktop.
- The above step will lead you to the alphabetical list of all the accessible applications.
- OR, you can also find the tool on the notification panel, where you can click on the Screen snip option.
- Users can also search for the tool if not comfortable with the keyboard shortcuts.
- You can also pin the Snip & Sketch tool to the taskbar if you are a frequent screenshot taker.
- After taking the screenshot, the tool will save the picture to the clipboard. It will then show it as a notification in the lower right corner of the screen.
- To open the screenshot, click on the notification to save or share the screenshot.
- If you would open the tool from the search bar or the Start menu then it will open the Snip & Sketch.
- You can then click on the button New while capturing any screen.
#2: Use Windows 10 Built-in Snipping Tool
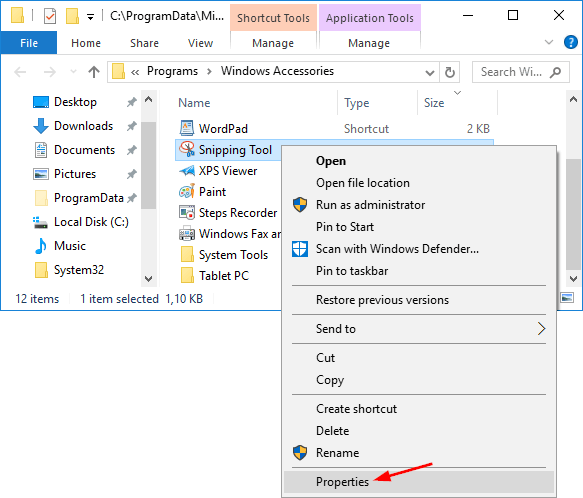
Users have been using the Snipping Tool for a long time since Windows Vista. However, a few years back, Windows has declared that they might be taking away the tool, but users can still use the tool. You can easily access the Snipping Tool via the Search Bar.
Follow the steps below to use the tool:
- To start the screen capture procedure, tap on the New button first.
- The rectangular snip is the default snip. Users can also use the free-form, windows snips, and the full-screen form.
- Unlike, Snip & Sketch, Snipping Tool does not automatically save the screenshots. Hence you have to save the print screen manually.
#3: Using Print Screen button
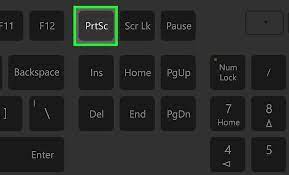
You can also tap on the Print Screen key to screenshot on Windows. You can recognise the key is PrtScn. You can print the screen but the screen capture file will not be saved as a file. The file that can be copied and then pasted in the editor, you can then save the file from there.
Users can set the PrtScn button from the Snip & Sketch Tool:
- Go to the b option.
- Then search for the Ease of Access.
- Click on the Keyboard.
- Under the Print Screen Shortcut, tap on the option Use the PrtScn button to open screen snipping.
#4: Use Windows Key + Print Screen
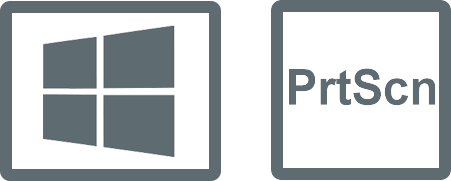
To take a screenshot and then automatically save it, you have to click on the Windows key + Print Screen Key. After taking a screen capture, your screen will slightly dim.
Now to see or use the screenshot on Windows, go to the Pictures and then click on the Screenshots folder.
#5: Take a screenshot with Alt + Print Screen
You can also press the keys Alt + PrtScn together to take a quick screenshot on Windows 10. It will snap the active Window and the screenshot will be also copied. After that, the user would need to open the copied image in some photo editing software.
#6: Steps to take a screenshot on Windows 10 using Game Bar
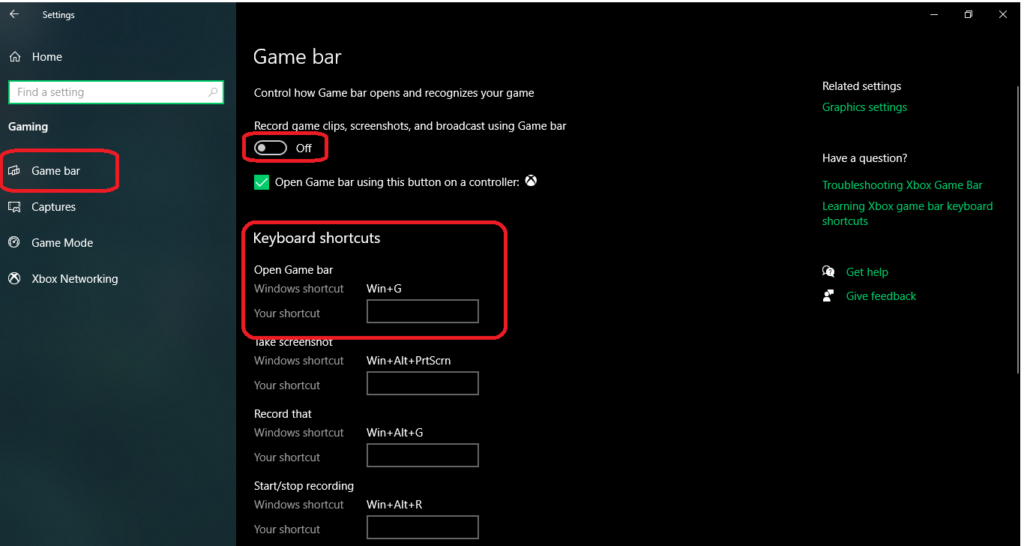
Another way to resolve your “how to take a screenshot” is to use Game Bar. Using the tool you can screenshot the screen while playing a game.
Follow a few easy steps below:
- Tap on the Windows key + G key to use the Game bar.
- Alternatively, you can also use the default button in the Game bar tool.
Or, press the Windows key + Alt + PrtScn to capture the screen.
- To set your own screenshot, go to Settings and search for the option Gaming.
- Then click on the Game Bar.
- If you are playing any game on Steam, then key F11 will also help you take the screenshot.
#7: Use Windows 10 Screenshot shortcut key : Windows Logo + Volume Down
Just like you would take a screenshot on any smartphones, the user can capture the screen of Windows 10 using a few buttons.
- Hold the Windows Logo key on the keyboard and press the volume down button on the side of the tablet.
- As you would click the screenshot, the display would get dim and it will automatically save the photo in a folder.
- To use or check the screenshot, go to the Pictures and then click on the Screenshots folder.
Final Note!
The above are seven possible ways to print screen Windows 10. Hopefully, the article helped you to solve your confusion regarding printing the screen of the display. You can find many such informative blogs related to technical assistance on our website. Please, consider checking them as well. If this blog was helpful then share it within your circle.
